Buyer Beware: Fraudulent Website Impersonating ALDI
If a deal seems too good to be true, it likely is.
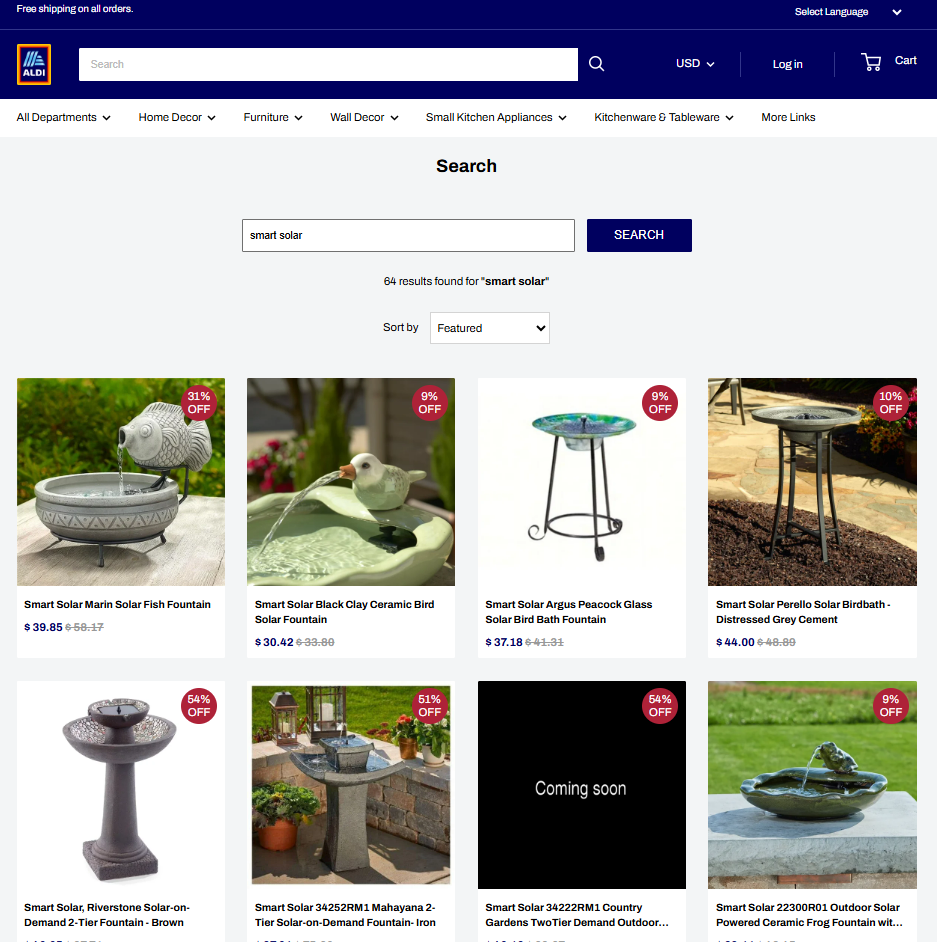
We’ve identified a fraudulent website impersonating ALDI to trick shoppers into providing personal and financial information. This site is not affiliated with ALDI and should be avoided.
🚫 Do not visit or make purchases from this site: https://aldius.axlemart.shop/
Our products are only sold through accredited retailers and our official website. If you are ever in doubt, please contact us at sales@smartlivinghg.com.
100% US Based Customer Service
This recognition underscores our promise to customers: dependable products backed by a knowledgeable, caring support team you can count on.